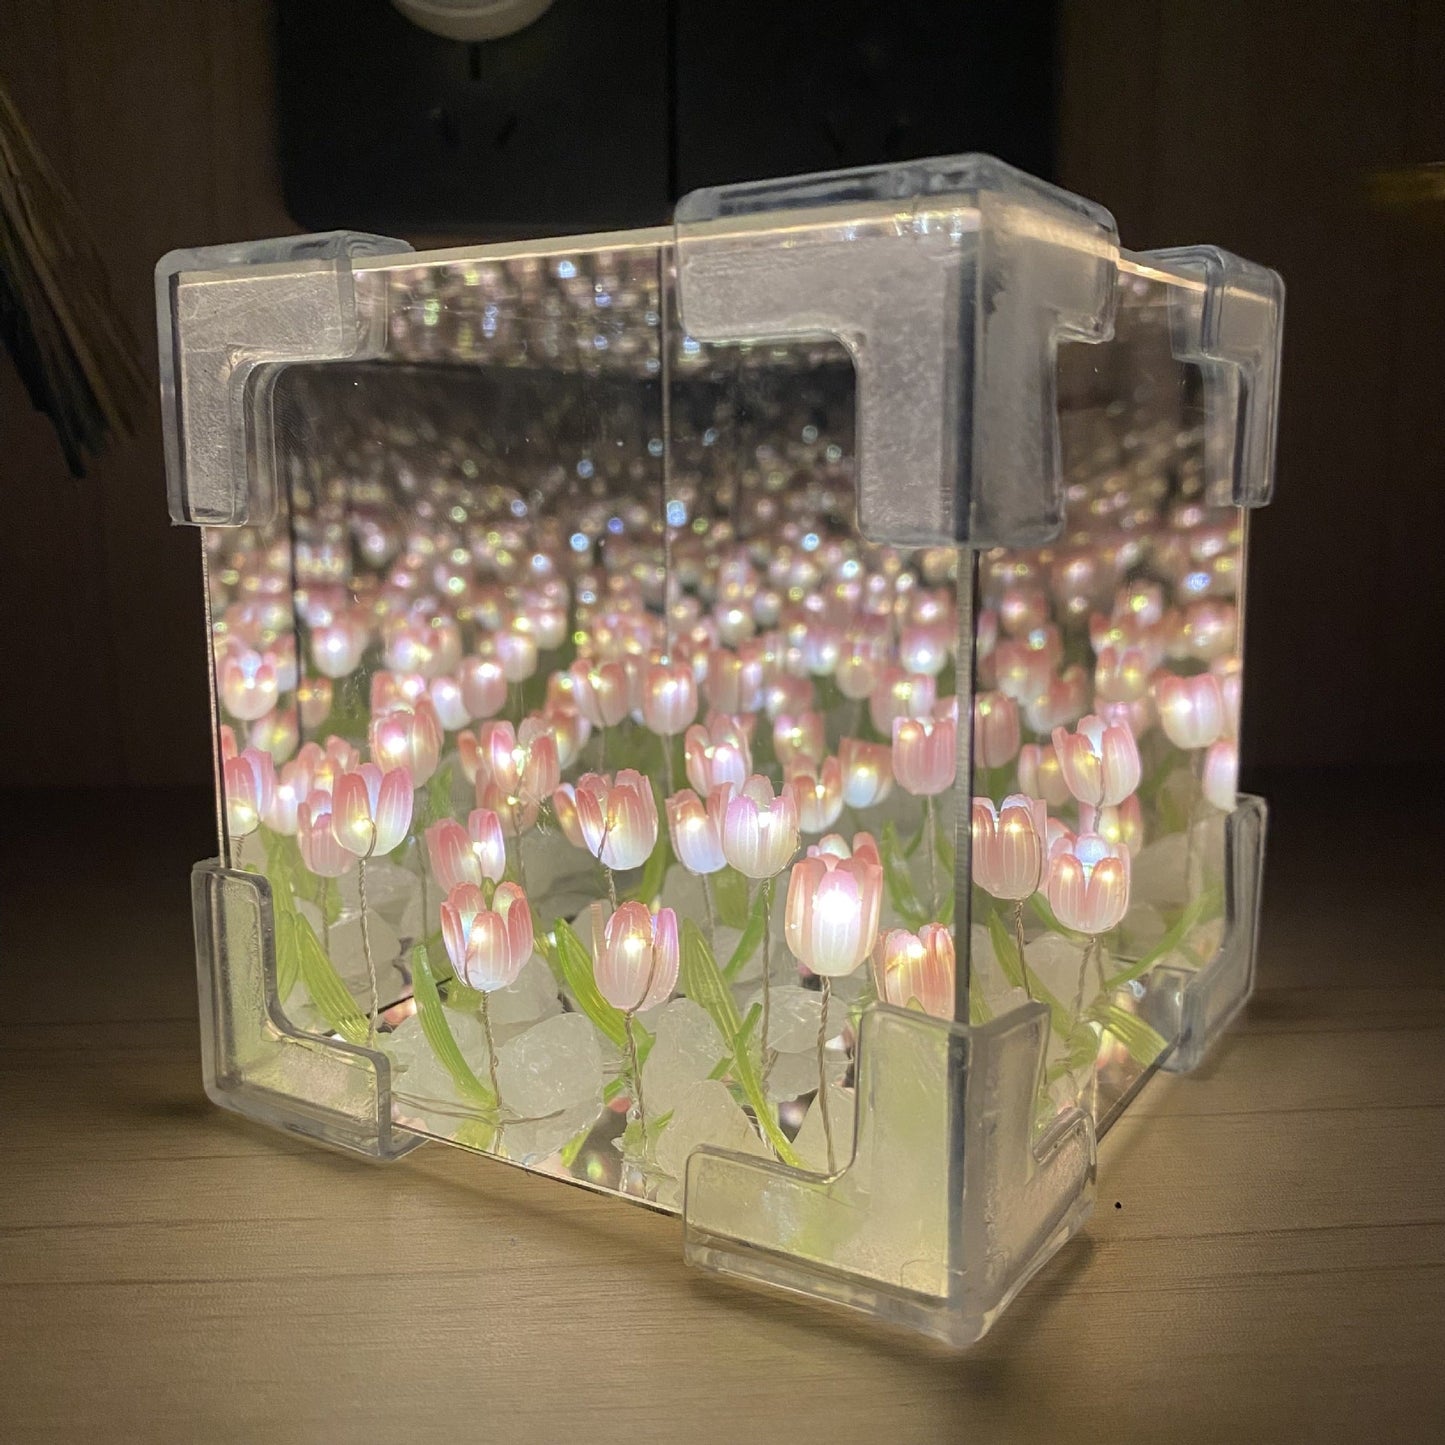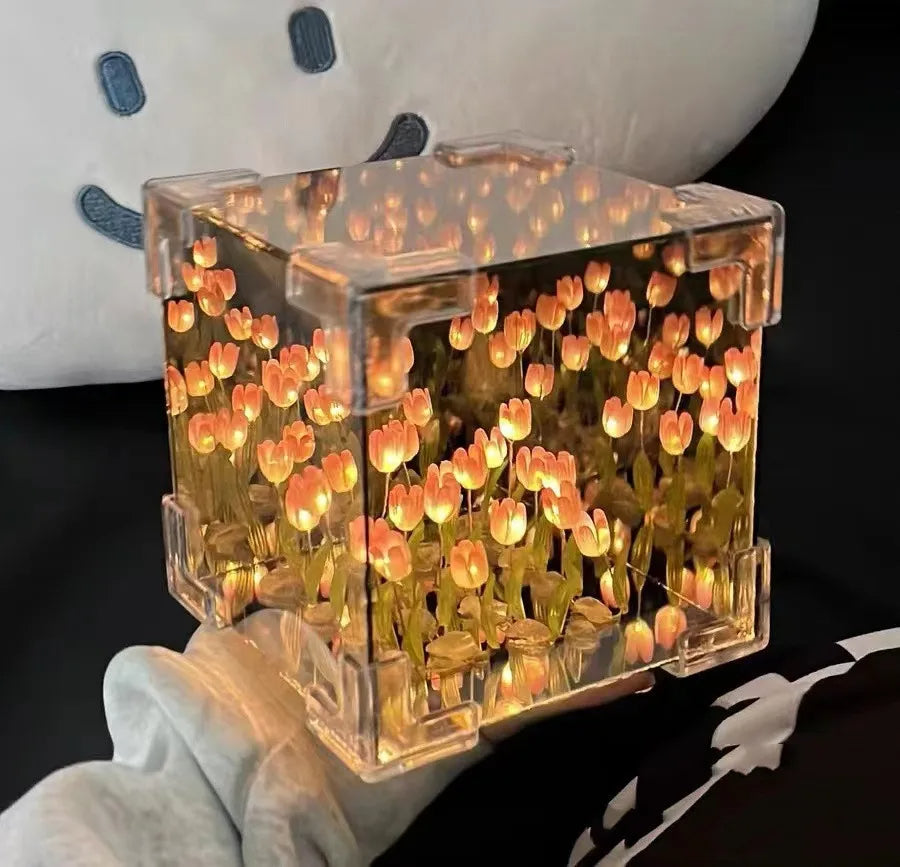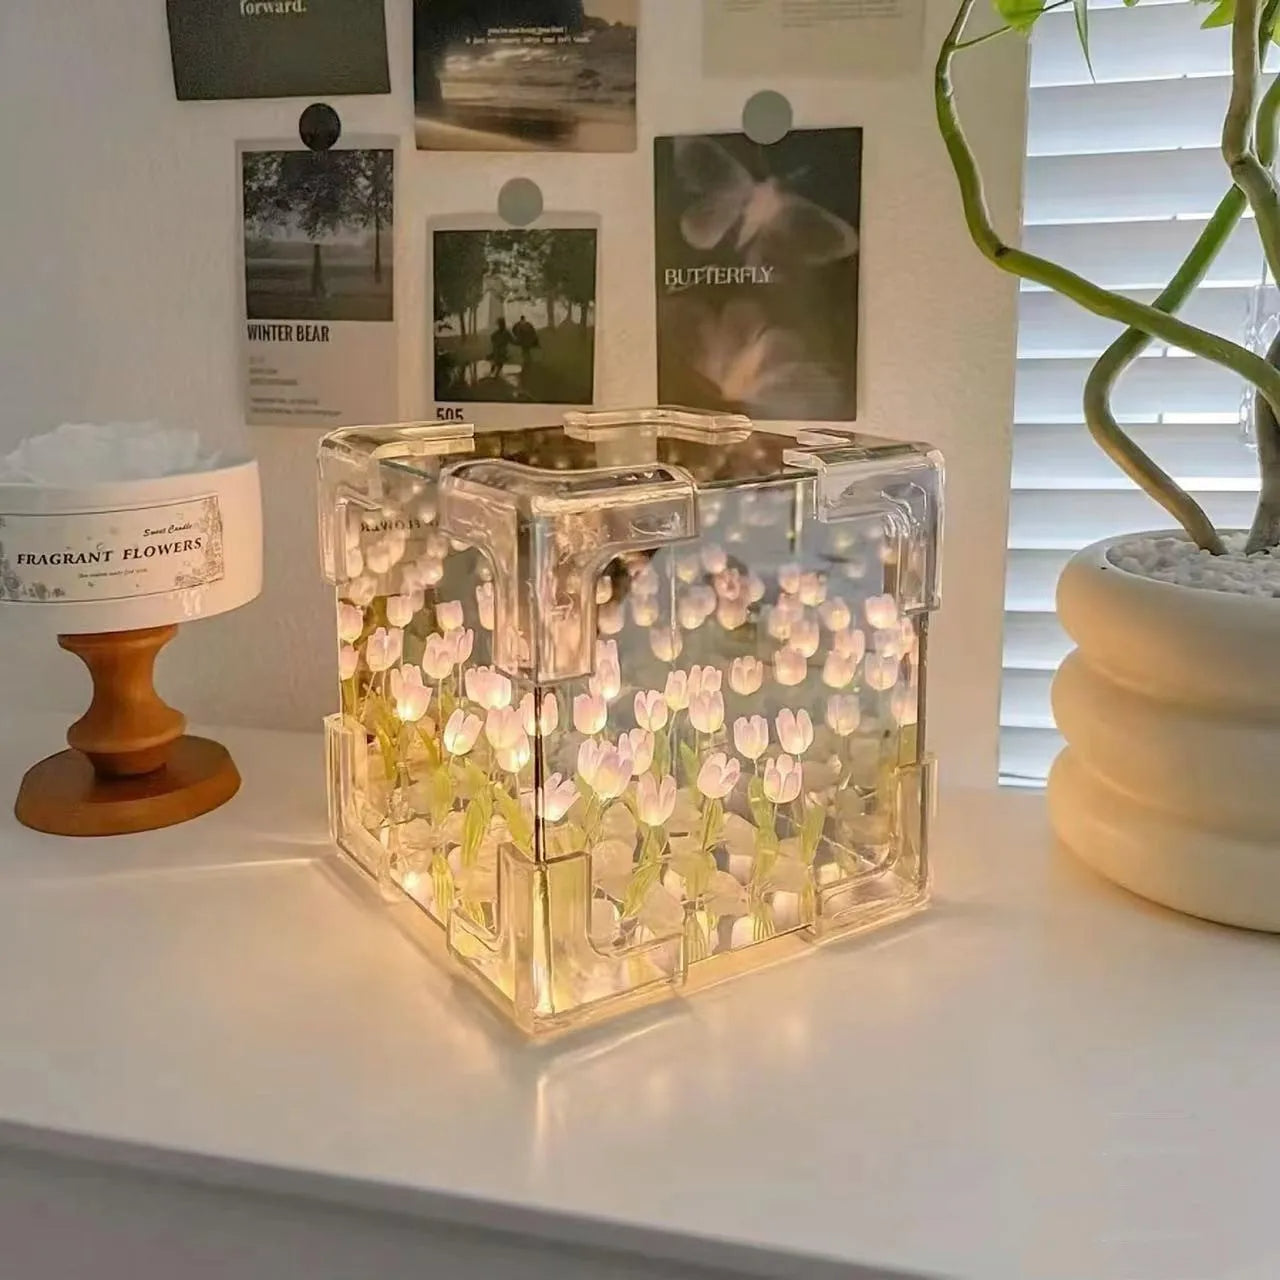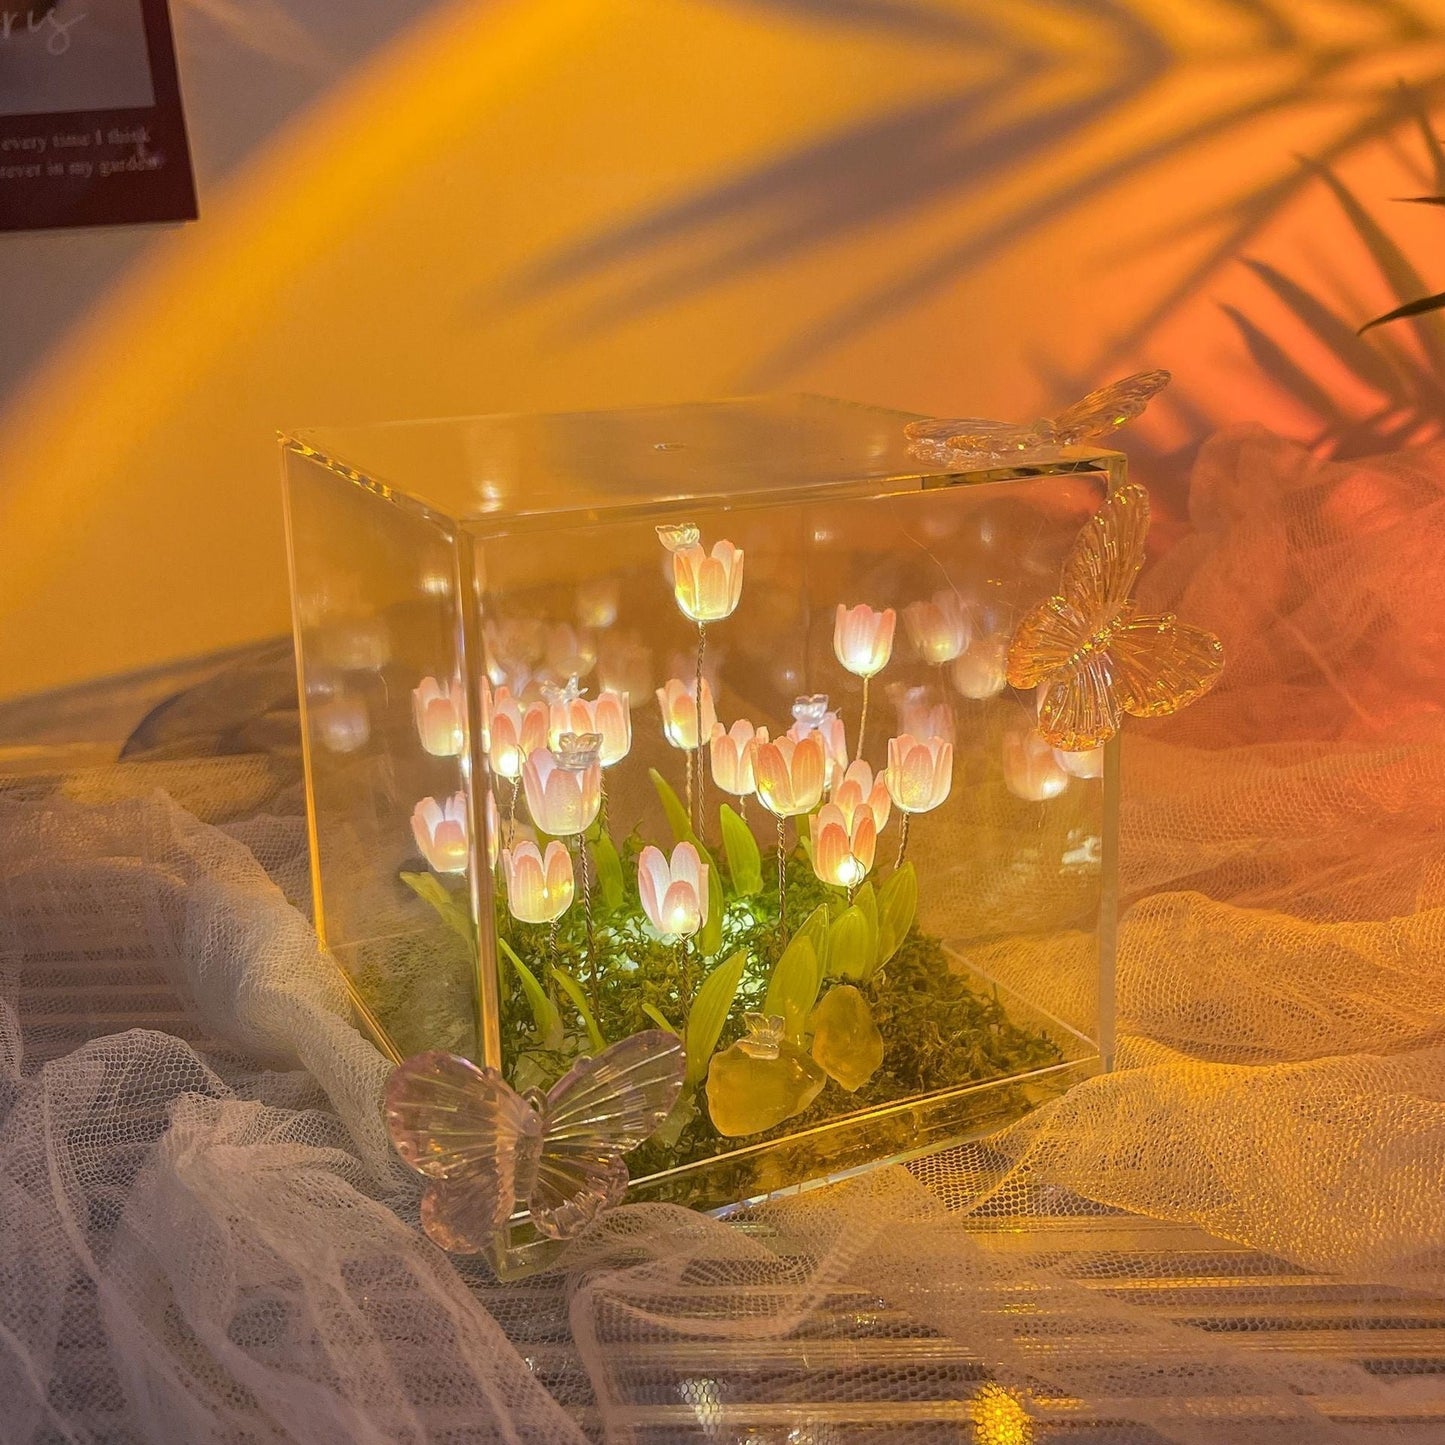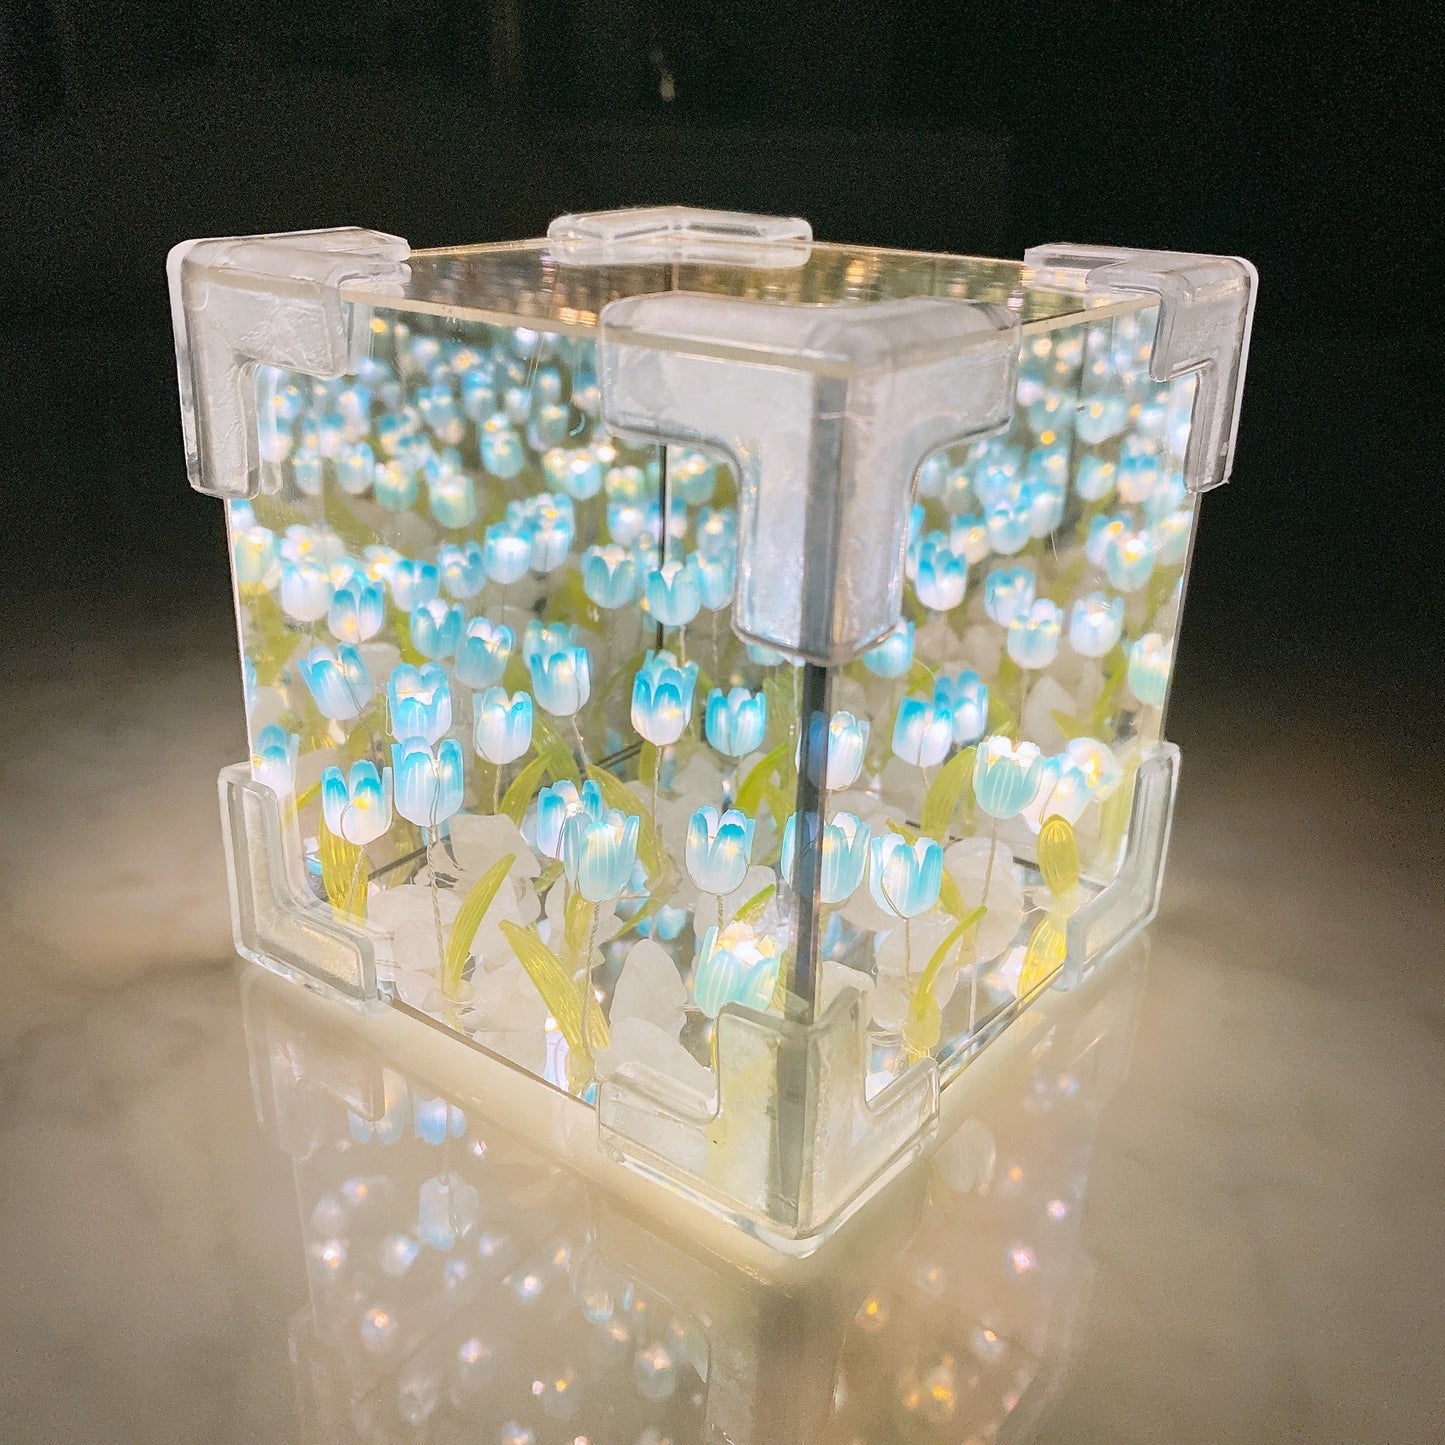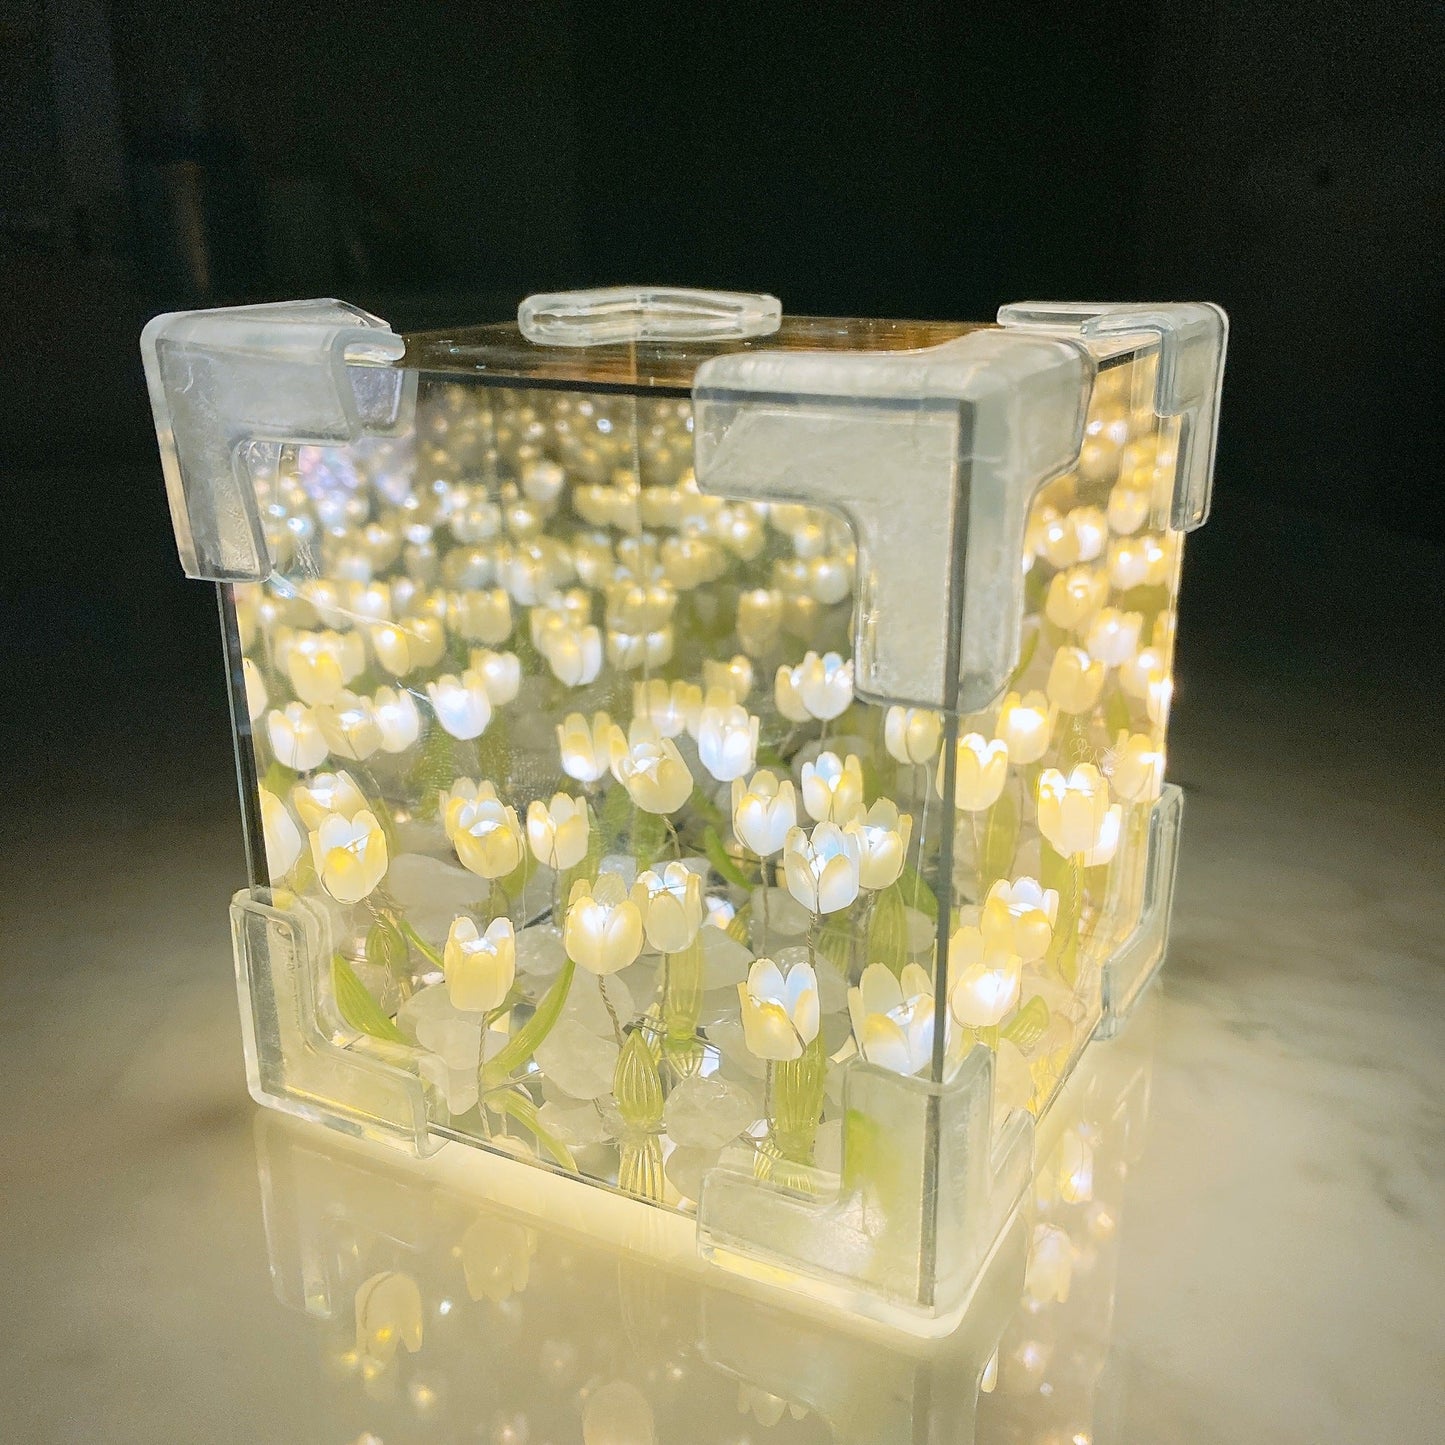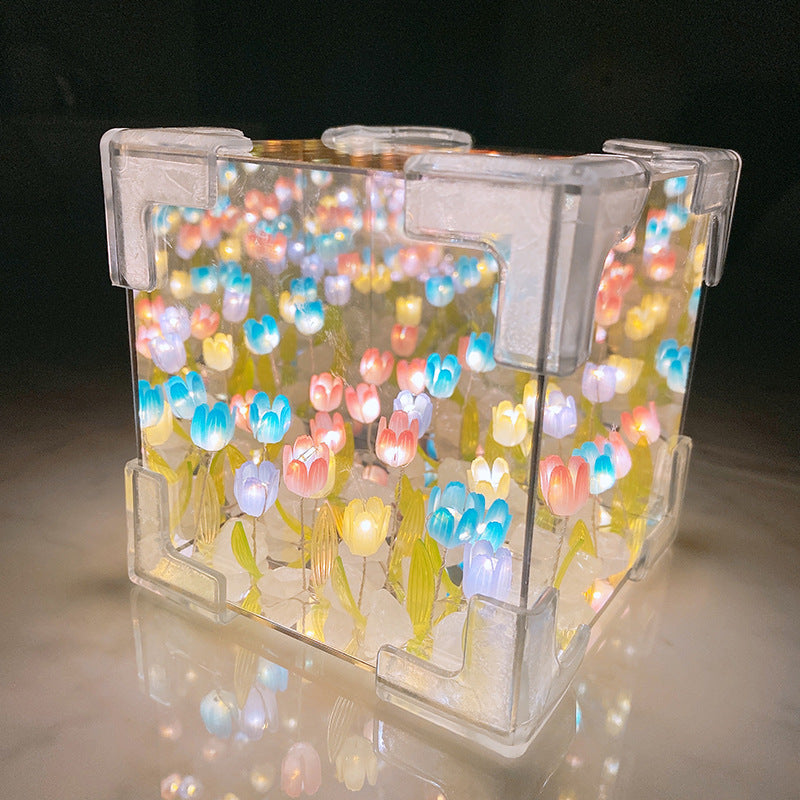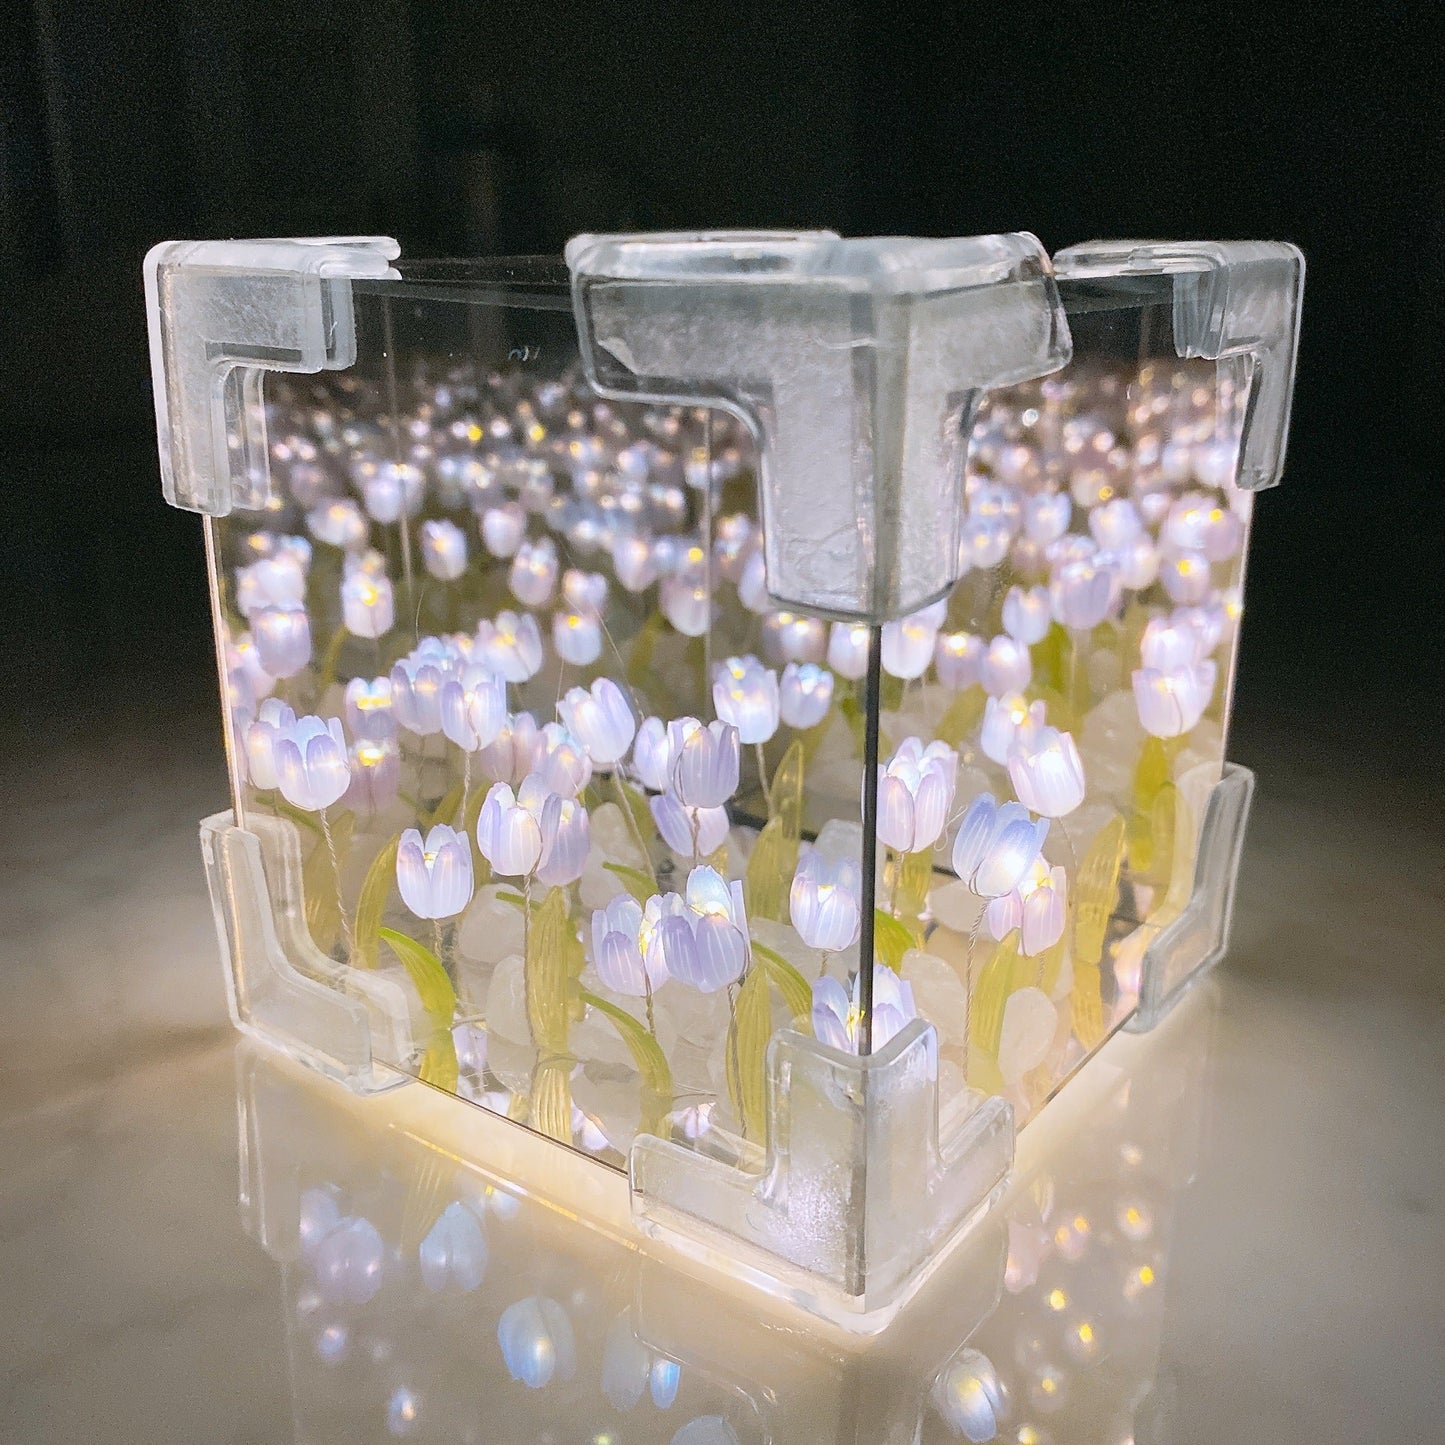
Instant Ambiance
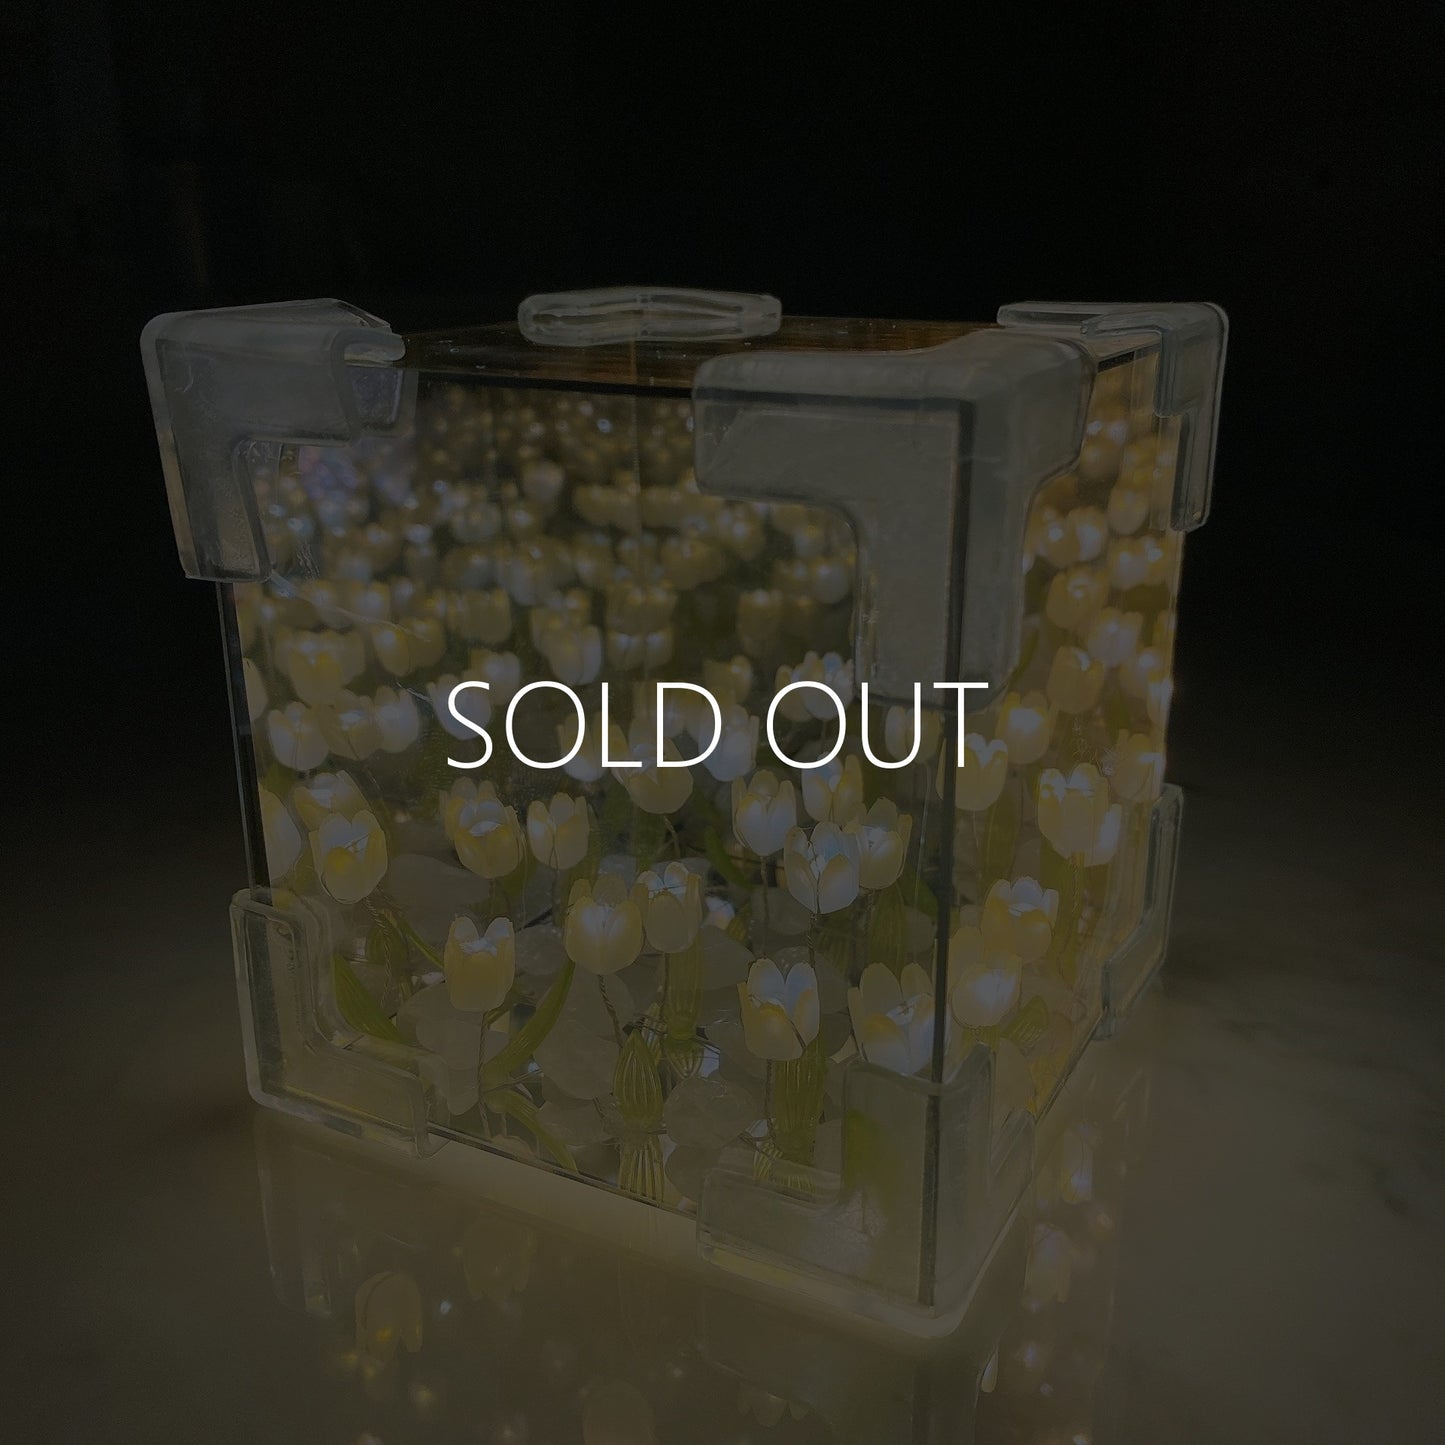
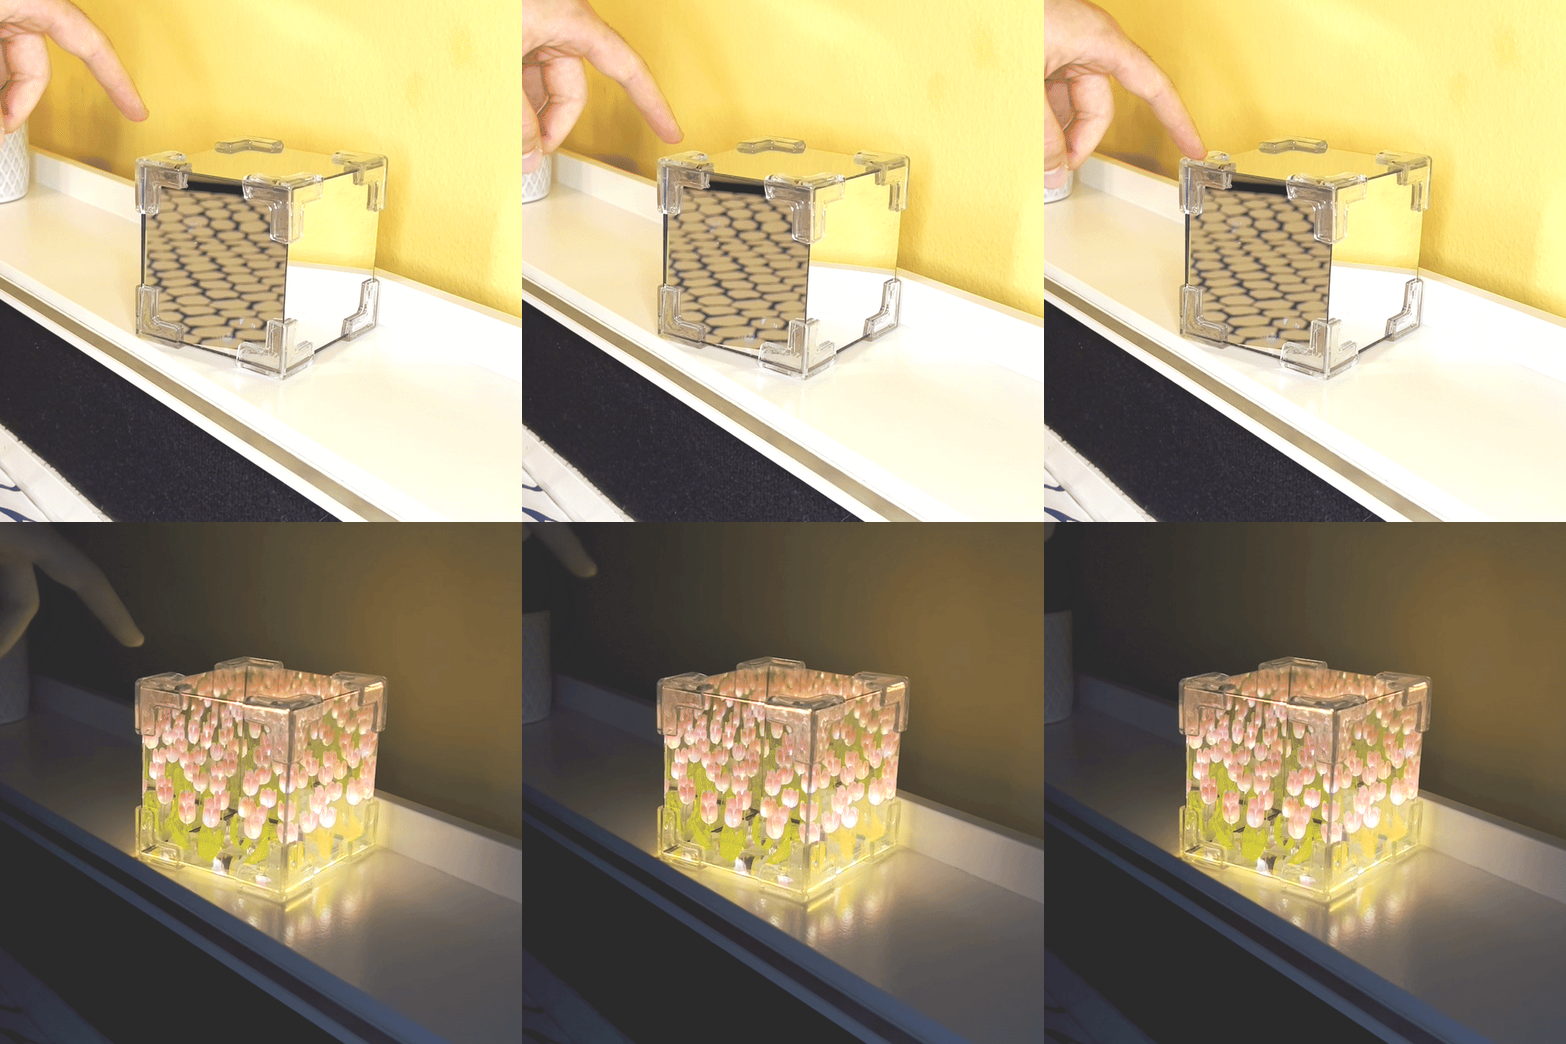
Turn on Tulipic and instantly transform your room into a cozy haven. The glowing reflections create a peaceful atmosphere in any surrounding.
Whether it sits on your desk, shelf, or nightstand, Tulipic infuses your space with warmth.
Fun to set-up
Setting up Tulipic is a nice experience to share with your loved ones. Picture the excitement in your child's eyes or the fun of working together with your significant other. It's more than just putting pieces together; it's about creating something beautiful as a team!
We've got you covered with a full set-up guide, you can check it out in the FAQ below!
Always Beautiful
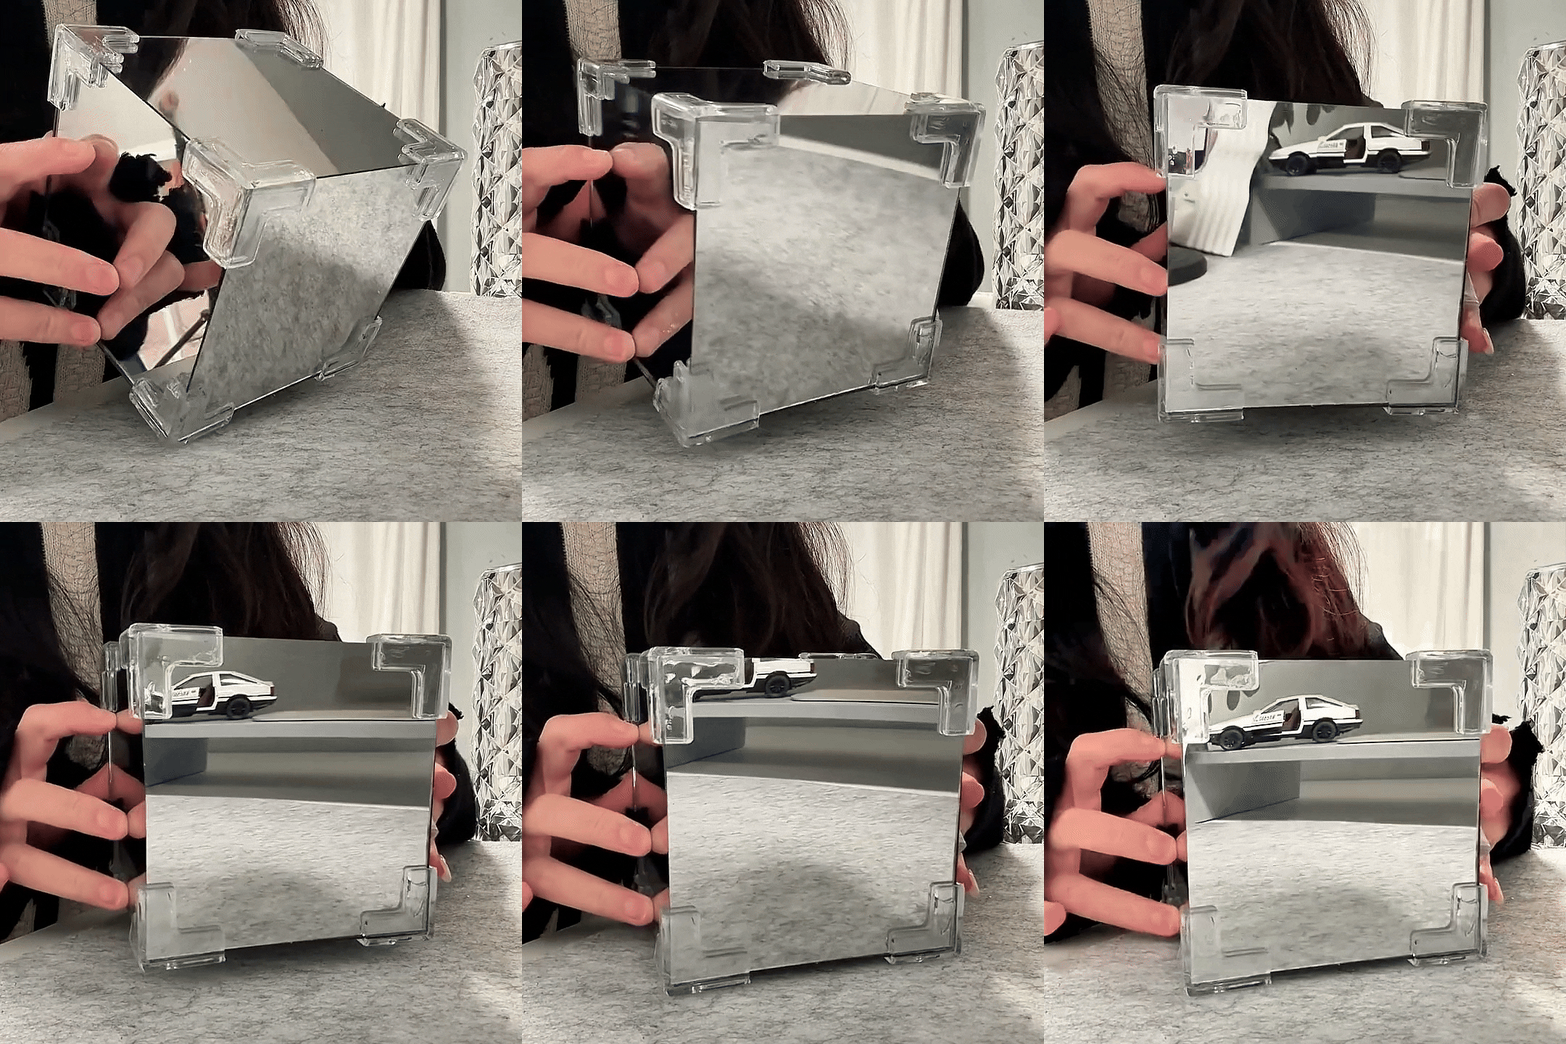
Even when it's off, Tulipic remains a beautiful piece: a cubic mirror that adds a touch of elegance to any room.
Useful even in its quiet moments!
30 Day Guarantee
We're so confident in our products that we offer a 30-day money-back guarantee. If you're not completely satisfied, we'll refund you, no questions asked. It's risk-free!
FAQ
What's included?
🌷 Tulips, Leaves and Stone
🌷 Mirror and Decorative strip
🌷 Light String
🌷 Glue Stick
🌷 Battery Click
How do I set up Tulipic?
Step-by-Step Instructions for Your Tulipic
Step 1: Preparing the LED String Lights
Untangle the LED String Light
Carefully untangle the LED string light to ensure all bulbs are separated and the wire is straight.
Insert Each Light into a Tulip Casing
Take each tulip casing and insert one LED light bulb into it. Twist the bottom of the tulip casing to secure the bulb inside and adjust it to your desired length. Repeat for all bulbs on the string.
Step 2: Prepare the Mirror Panels
Peel Off the Film
Remove the protective film from all mirror panels to ensure a clean, reflective surface.
Step 3: Attach LED Lights to the Mirror Base
Use One Mirror as a Base
Place one of the mirror panels flat on your workspace; this will serve as the base of your Tulipic.
Stick LED Lights to the Mirror Base
Using a hot glue gun or lighter, carefully attach the LED string lights to the mirror base. Ensure the bulbs are spaced evenly around the base. Make sure the battery switch is positioned outside the base so it can be easily accessed.
Step 4: Add Leaves and Gems
Stick Down Leaves and Gems
Arrange the leaves and gems on the mirror base around the LED lights. Use the hot glue gun to secure the leaves and gems to the mirror. Apply glue sparingly to avoid excess on the mirror surface.
Step 5: Assemble the Box
Attach Plastic Corner Edges
Use double-sided tape to attach the plastic corner edges to the sides of the mirror base.
Attach the Side Mirrors
Position the remaining mirror panels upright and secure them to the plastic corner edges using double-sided tape. Ensure the edges of the mirror panels are pushed firmly into the corners for a snug fit.
Step 6: Final Touches
Remove Safety Tab from Battery Switch
Remove any safety tab from the battery switch to activate the LED lights.
Enjoy Your Luminous Tulipic
Turn on the LED string lights and enjoy the beautiful, luminous display created by the reflections and colors of your Tulipic.
Tips and Tricks
Safety First
Handle the mirror panels with care to avoid injury. If using a lighter, be cautious to prevent burns.
Customization
Feel free to use different types of flowers or additional decorative elements to personalize your box.
Maintenance
Keep the mirror panels clean for the best reflective effect. Use a soft cloth to wipe away dust or fingerprints.
By following these detailed steps, you'll create a stunning Tulipic that adds a unique and enchanting touch to any space. Enjoy your creation!
Does Tulipic Get Hot?
No, the LED lights remain cool to the touch, making it safe to use.
Is Tulipic safe for children?
Yes, the lamp is made with safe materials and features LED lights that remain cool to the touch.


